Most premium WordPress themes includes a special post type called a Portfolio item. This is useful for showcasing your services or previous projects e.g. Courses, building projects, software examples, etc.
The portfolio items is not displayed with other news articles in the news feed, but rather on a designated page set up by your website developer.
Step 1 – Log into the admin module
Go to http://yourdomain.com/admin
Provide your username and password and click on log in.
You should now see the your dashboard
Step 2 – Click on Portfolio – Add New
Step 3 – Give your Portfolio item a title
Your title should be descriptive enough to let a visitor know what to expect from the article
Step 4 – Add the content.
This can be text, video, images, etc. The interface works much the same as your basic word processing programs with a toolbar at the top that can be used to format text or insert content.
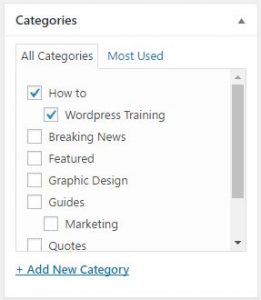
Step 5 – Choose your category.
There can be more than one. This is especially useful if your website displays certain categories on different pages.
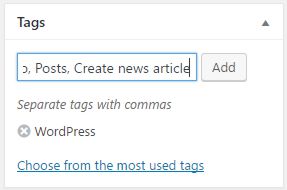
Step 6 – Add Tags to your Portfolio item.
This is comes in handy when a visitor searches for keywords. Search engines also use this to categorize your posts.
Step 7 – Set a featured image.
Featured images is used when you share an article to social media like Facebook to give your post a better look. It is also used in most themes when displaying a list of your Portfolio items.
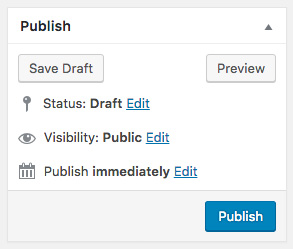
Step 8 – Publish.
 Publish your item by clicking on the publish button top right.
After this step your Portfolio item will be visible on your website on the page designated for Portfolio.
