The Events Calendar is a WordPress Plugin that adds events to your WordPress site. To find more detailed tutorials from the authors click here
I will assume that your site already has the plugin installed and configured on certain pages. This article will only deal with adding new events. Adding an event is very similar to adding a new post. In fact an event is just a very specialized post type. It has added features that are specific to events.
Step 1 – Log into the admin module
Go to http://yourdomain.com/admin
Provide your username and password and click on log in.
You should now see the your dashboard
Step 2 Click on Events – Add New
Step 3 – Give your Event a title
Your title should be descriptive enough to let a visitor know what to expect from the Event. It is the text that will be shown in all places where you share it.
Step 4 – Add the content.
This can be text, video, images, etc. The interface works much the same as your basic word processing programs with a toolbar at the top that can be used to format text or insert content.
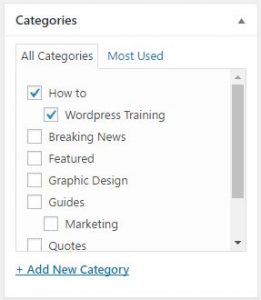
Step 5 – Choose your Event Category.
This will be set up by your website administrator, but you can also add to them. Just keep in mind that there might be specific pages set up for each category. In that case your new event might not display if you add your own category. There can be more than one. This is especially useful if your website displays certain categories on different pages.

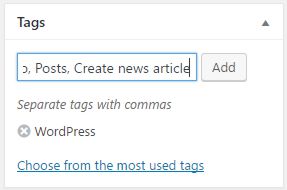
Step 6 – Add Tags to your Event.
This is comes in handy when a visitor searches for keywords. Search engines also use this to categorize your events.
Step 7 – Set a featured image.
Featured images is used when you share an event to social media like Facebook to give your post a better look. It is also used in most themes when displaying a list of your articles.
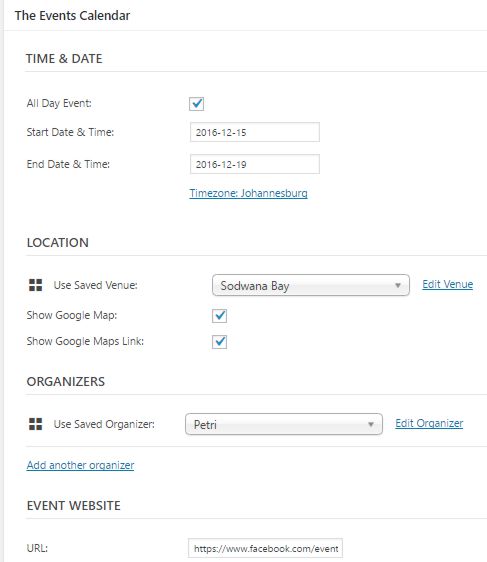
Step 8 – Set the event specific features

The event details are fairly self explanatory, but I will focus on some key areas.
Location
Locations can be predefined or edited from the “Edit venue” link to the right of the location drop-down. If you add all the information and enable the google map option, visitors can see exactly where the event will be held. Be sure to check after publishing the event that the map indicates the correct position as the address is not necessary on Google Maps
Event Website
This can be any url. If you do not have the Pro version of this plugin that connects to Facebook events, you could for instance add your Facebook event url here. If this is a recurring event and you have a description of this event under another web page, you might also use this url to direct to the event.
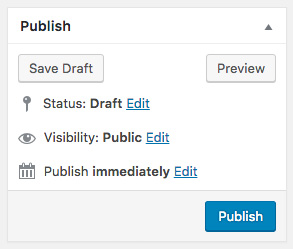
Step 9 – Publish.
 Publish your Event by clicking on the publish button top right.
After this step your Event will be visible on your website on the page designated for events.
